Showing posts with label cardboard. Show all posts

Tuesday, November 6, 2012

Sneak a Peak at our new doll restaurant!

Hi everyone, I am almost finished the new restaurant, it will set the scene for alot of 'Skull Academy' dramatic moments. The new restaurant will be called 'Lola's Bistro' it is a casual hangout with some elegant touches, I think so anyways. I will be putting together a tutorial video once its all done and posting on our YouTube channel and here as well.

Still waiting for viewers to send in their art. We got a few already that we will be hanging, but please keep sending scans of your art. We can also use them for dorm rooms and the school. We want you to feel like you're apart of Skull Academy.

Here is a few pictures, just finished the door this past weekend and I love it, I love that it fit in the spot it was meant for, barely but it fits...I haven't taken any pictures yet if it being done...enough said, here are the pics...


Almost finished, I don't want to give away too much, please subscribe or join our blog so you won't miss the big reveal. The big reveal will be on our web show 'Skull Academy' on our YouTube channel: gingerlola2011
 
Please don't forget to vote for us for 'top 100 doll sites' above on 
the right hand side, we are currently number 4 woohoo  
(at the time of this post)....we don't win anything but its nice to 
be in the top 10.

Thank you :)


Tuesday, September 18, 2012

How to Make a Doll Lamp & Night Table

Hi everyone, I want to welcome my new subscribers and friends, thank you so much for joining my blog.

I made a few changes at Skull Academy, did you spot them?

One is the night tables and lamps. Here is a quick tutorial on how to make it.

grap some beads you like...

I took apart an umbrella and got these pieces that are perfect for the lamp, and it fits through the beads...

before


before

before


I used building blocks and clothespin hangers as legs painted them black and silver. The legs are not that sturdy so I may have to cut the tip off and glue again. I have also added handles. Great thing about these clothespins is you could face them different ways to get different looks.
after

after...I added a handle to all tables

after
 I will update pics in a few days, I have added handles. Plus take pics of the renovated rooms.
Thank you so much for visiting my blog, please leave comments, and don't forget to subscribe to any one of our three blogs to enter our big giveaway.


Sunday, August 19, 2012

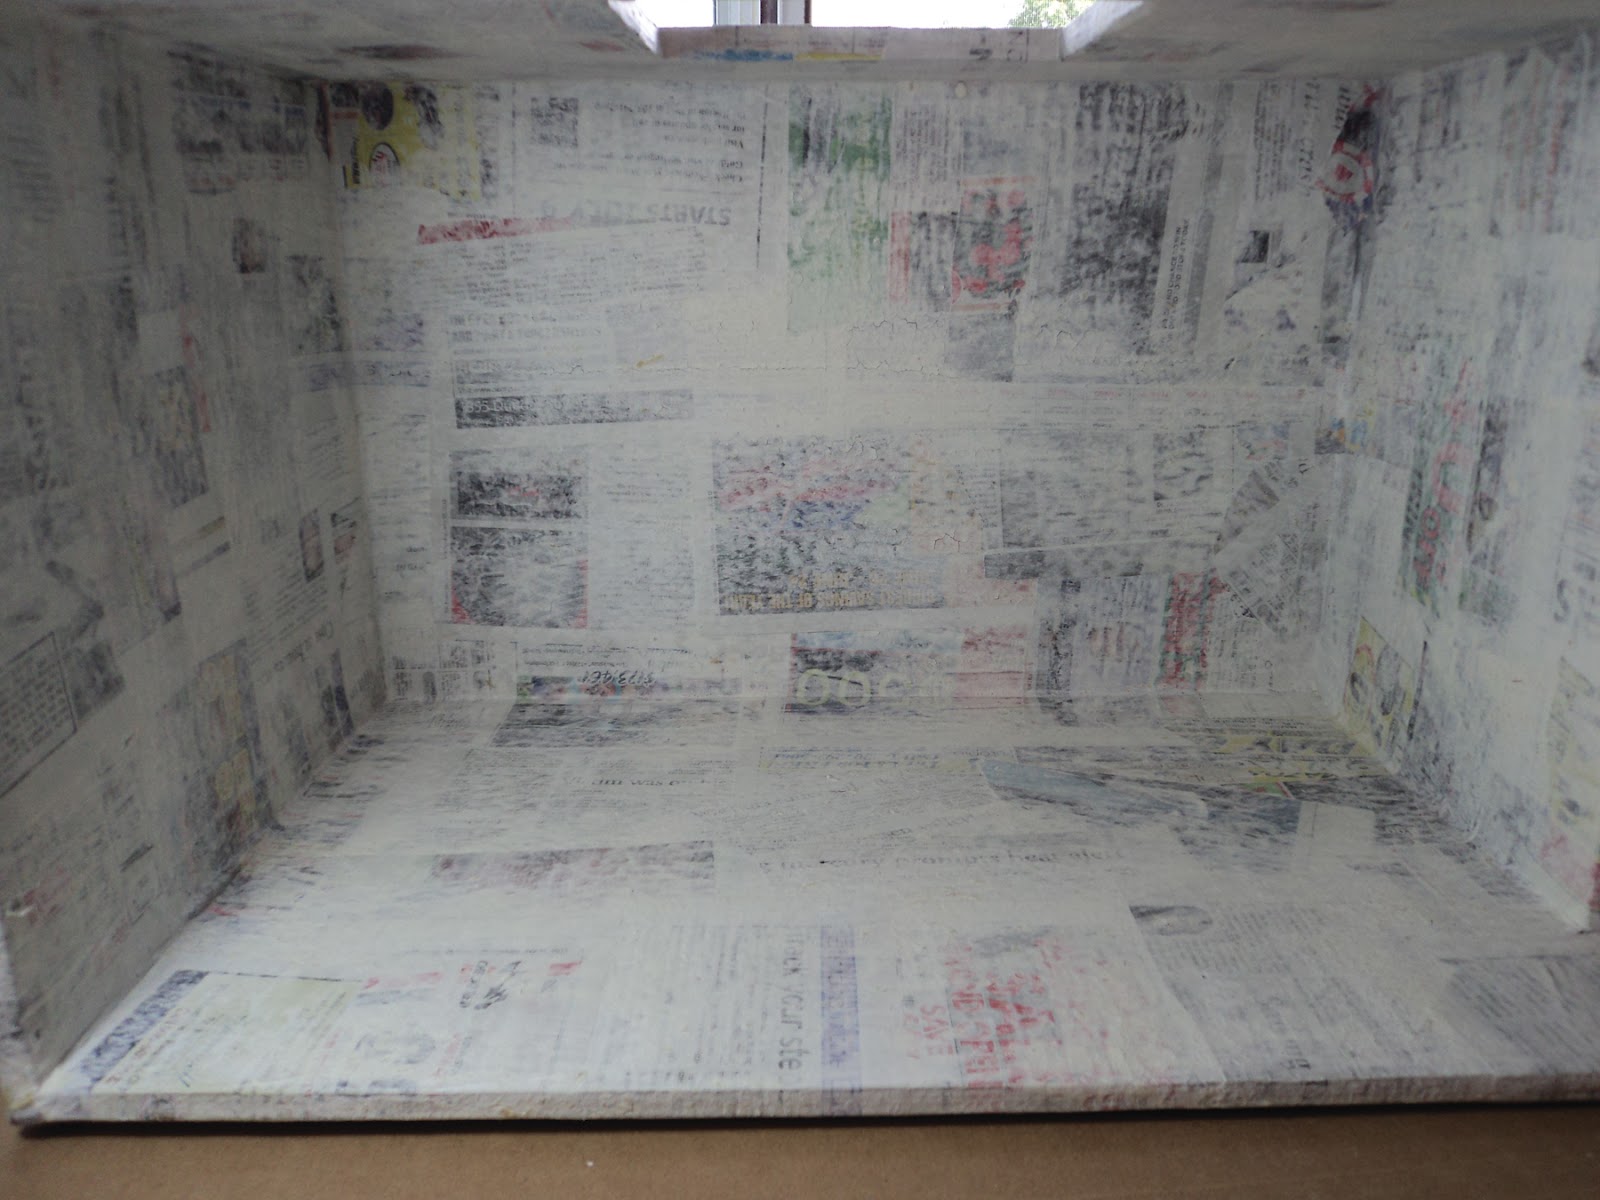
How to Make & Apply Paper Mache

Most of my dollhouses I paper mache, to make them stronger and easier to apply paint or wallpaper.
It's a bit messy but I love the end result.
The important part of this process I think is making sure you have lots of layers of cardboard.
At least three, four is better. Because the cardboard gets wet, it will warp and ruin the project.
Best thing to do is do one side of cardboard and then put a fan directly on it till it drys.
The less time the cardboard is wet the better.

Materials Needed: Flour, water and salt.


You have to beat it really hard to get rid of all the lumps for a smooth texture.


Too watery, add more flour.


Perfect, just like I like it...now add about a tablespoon of salt (avoids molding) and mix well.
It usually takes me about 20 minutes to prepare the paper mache mix.

IMPORTANT
No lumps...keep mixing if there is still lumps.


Now rip up strips of newspaper, don't cut with scissors, rip with your hands. You can also use paper towels, but again no cutting, rip with your hands.


Add some paper mache to the cardboard then add your first strip of newspaper then cover with the paper mache mix, make sure newspaper is all wet.


I only did one layer of paper mache, I know that more than three layers is better but who has the time for that. I have always done only one layer and so far so good...but if you're project is going outside then I would definitely do more layers.


Cool, its done...now the box is ready for me to paint and decorate.


Thank you for viewing my blog. If you're doing any paper mache projects, I would love to see your work and post it here....just send me a picture of when you're done with the paper mache and finished look of your project. Thank you!


Saturday, August 4, 2012

Monster High Dorm Room part 3 the floors

The floors, I want to make the dorm room look like its apart of the Skull Academy so I did the same floor pattern...


Paint 2-3 coats smoothing the edges.


Floors are done, next post will be the walls...join my blog so you don't miss the big reveal.
Thank you for visiting.