Showing posts with label popsicle sticks. Show all posts

Friday, April 26, 2013

How to Make Bunk Beds for Dolls

Hey everyone, I am re-doing a few tutorial videos and adding my voice to it. Both the paper mache and popsicle stick beds are in the video plus a new stop motion clip. 

Please share, comment & rate our videos. Thank you!


Sunday, January 6, 2013

How to Make a Boy Doll Dorm Room

Hi everyone.

We hope you are all doing well, I want to welcome our new subscribers and members, thank you so much for joining or subscribing. Now you will be entered in all future giveaways and of course the big doll giveaway we're doing right now. We are so excited about giving these dolls away. We love you all so much we wish we had a thousand dolls to giveaway.

I finished the new dorm room, here is the video tutorial just below.

Please vote for our site on the sidebar before you leave...thank you so much for your votes and comments. You guys rock!

We already have a video on the bunk bed and coffin on our channel and earlier blog posts. We will post about the other furniture on our blogs.

Thank you for watching, sharing, commenting and just being awesome!!!!


Saturday, January 5, 2013

How to Make a Popsicle Stick Bunk Bed for Dolls

Hi everyone... 

Too many dolls and not enough space, make your Monster High, barbies, bratz dolls a bunk bed.
Check out our video on how to make a doll bunk bed using cardboard and popsicle sticks. If you're going to try this at home, please send us pictures.

Thank you for watching :)


Wednesday, November 21, 2012

How to Make a Doll Restaurant - the Walls

My niece's Monster High dolls needed somewhere to hang out and go out on dates. So I made her a restaurant and we're calling it Lola's Bistro. Their grand opening will be next week.

Materials Needed
  • 22" x 14" x !4" cardboard box
  • scraps of cardboard
  • white glue
  • paper mache
  • styrofoam 
  • paint
  • wallpaper
Fold in the flaps of  your box, add more layers of cardboard to all sides, this will make it strong and when you add the paper mache, the cardboard won't warp, warping starts when the cardboard is really wet, so keep a fan on the box and don't make your paper mache mixture too watery.


I added a patio to the restaurant.


I added a back bench for seating in the restaurant.
Styrofoam and a long piece of cardboard for the back of the bench.


Now paper mache all of it.

Urgh, the patio warped...and it warped really bad...not useable, despite my best efforts it still warped, I think it was because it was a long piece of cardboard, I should have broken it up into smaller sections.


Solution:
I removed the patio by cutting if off with a knife, removed the flooring section and kept the side walls, I still have my patio and actually works out better because this will make it easier to store it. I will post pictures of the patio by the weekend.


 I like to paint everything white, more like a blank slate, then I try to get inspired on how to decorate by the things I find. Not sure what to do yet in this picture.


Then I found this awesome wallpaper. I wanted something simple. We want to hang viewers artwork in the restaurant, so we didn't want it to look too busy. We want the art to stand out.


Check out my post on the floors. I didn't paint it this time, I .... I'll tell you later :)
Got to go now, back to my real job.

Please subscribe or join my blog and you won't miss the final reveal.

Oh yah, I gotta say it.... please vote for me :) for top 100 doll sites...we're at currently no.4 but go back and forth alot from 5th to 4th. 

Thank you for all you have joined and subscribed. You inspire me to start and finish my crafts. I love making these crafts for my niece and I love sharing them with you. Thank you so much for your comments.

Ginger :)

Sunday, July 29, 2012

Dollhouse Update 4 of 4 the floors

Ok almost finished, I painted some coffee stir sticks and they are going to be my baseboards.


Now here is the finished look, I still have alot to do, make beds, furniture, decorating accessories, the kitchen and bathroom. I am so much happier spending time making those projects with this new floor.
Makes it worth it. I can't believe I used that awful plastic shelf paper.


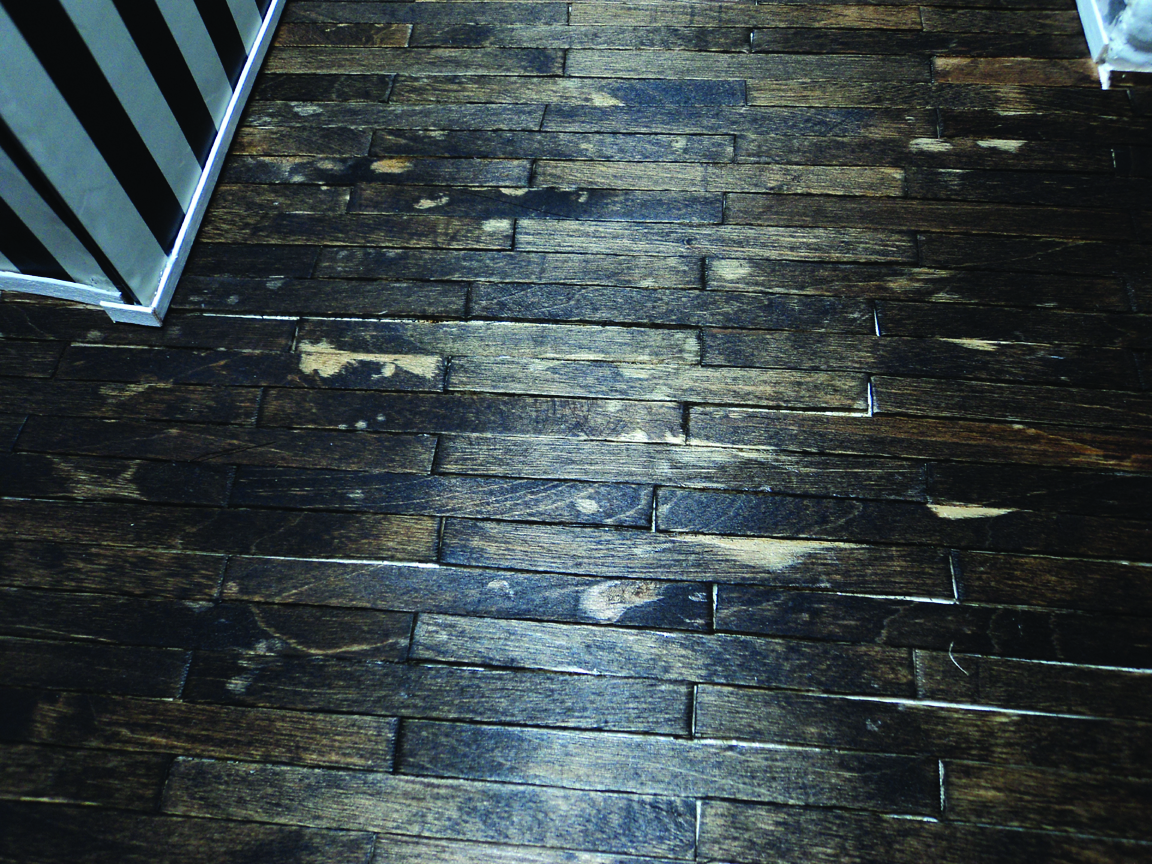
I started this hardwood flooring project using white glue, I don't know why I thought it would be better than hot glue which I use all the time... after doing about a foot of flooring I started using the hot glue because it was alot faster, and then nucklehead me, forgot to sand the main floor, I sanded the second floor but urgh...forgot this one, and the glue didn't stick to the sticks that had the glue residue on it. I'm not going to worry about it now, because I have so many other projects to work on, but I will tackle it later, by sanding it well and re-doing the stain.


For now I will have to cover it with a rug (aka a bit of fabric).


Next on my to do list is the kitchen, not sure what I'm doing yet, I need to go to thrift stores, dollar stores and garage sales to find items that inspire me...

Thank you for visiting. :)

Thursday, July 19, 2012

Dollhouse Update 3 of 4 the floors

Almost finished the floors...
I sanded the top floor and got it ready for staining.


I love the colour and how it looks.


Thank you for viewing my work,  I love sharing it with you. 
Welcome to my new friends...thank you for joinging.
I will post the finished floor in the next post.

Monday, July 16, 2012

Dollhouse Update 2 of 4 the floors

I started using white glue but taking too long to dry, so started using hot glue, wish I did sooner...I'll tell you why in the next posting. If you're going to work on this or a project like this..DO NOT USE WHITE GLUE...trust me...don't...


I love how it looks, especially the second floor. I almost don't want to stain it...but with the stain applied it will look more like real hardwood flooring.