Showing posts with label cardboard houses. Show all posts

Wednesday, December 12, 2012

More Bling to Rooms

The Monster High school house I made is still a work in progress, I will keep adding or taking away stuff as I am finding new things. The doll dressing screen I made for one of the dorm rooms was lacking something, I always wanted to add this chain to it, but never got around to it, but I finally did, it looks so much better. This room is going to go through more changes because there will probably be new students coming after Christmas, I have a feeling my niece will be getting more dolls and they need a place to sleep. I don't want to make another dorm room, so I'm replacing the single beds with bunk beds.

Check out 'our little shop' if you want to buy a bunk bed for your dolls.


I love how the dressing screen turned out, I also added more bling to the lamps 
and lighting fixture on ceiling. 
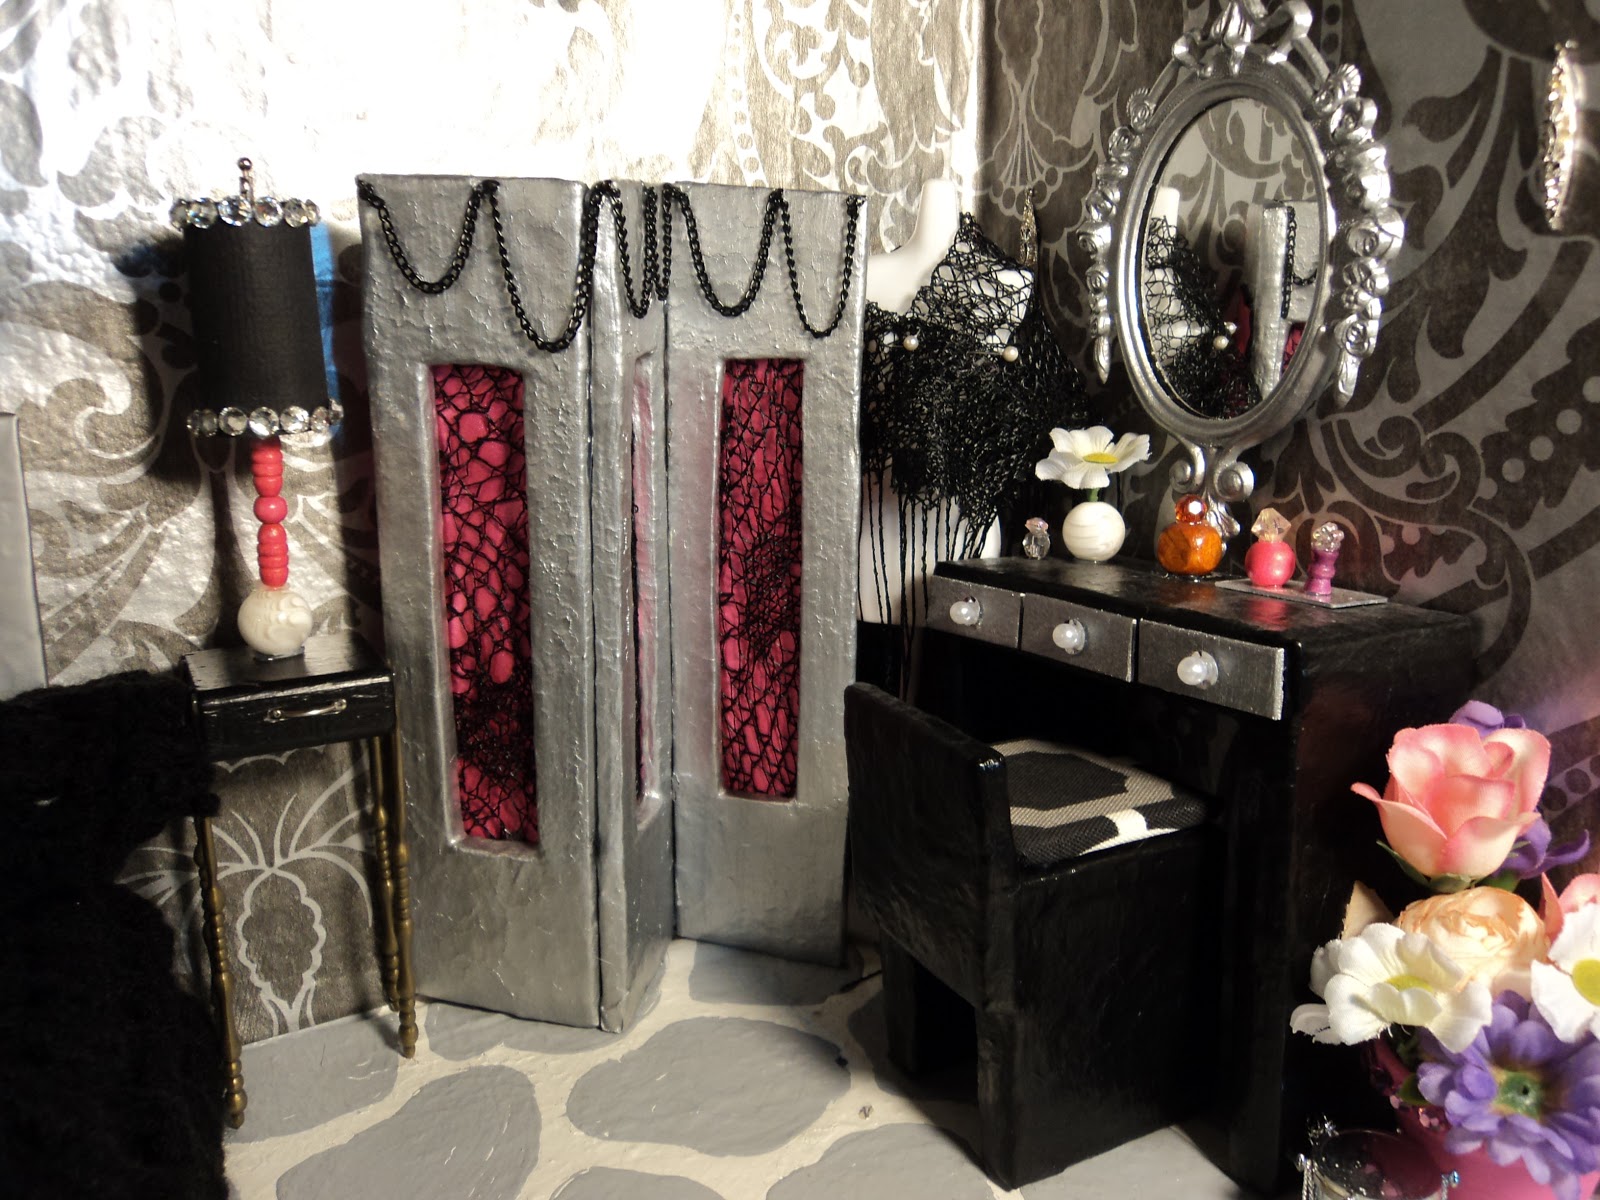


This is Operetta and Spectra's room, I don't think they will like the idea of getting new bunk beds, 
but what can you do?
 

Rochelle and Lagoona's room just need a little more bling, the cork board was looking kind of drab, 
so I added the bling around it.


That's it for now, I am decorating the house and restaurant for Christmas, 
I will have pictures and a post soon. 

Send us pictures of your dollhouses and doll crafts, we would love to share them with our readers.


Saturday, November 24, 2012

How to Make a Doll Restaurant - The Decor

Here is a few decorating touches I added to Lola's Bistro...

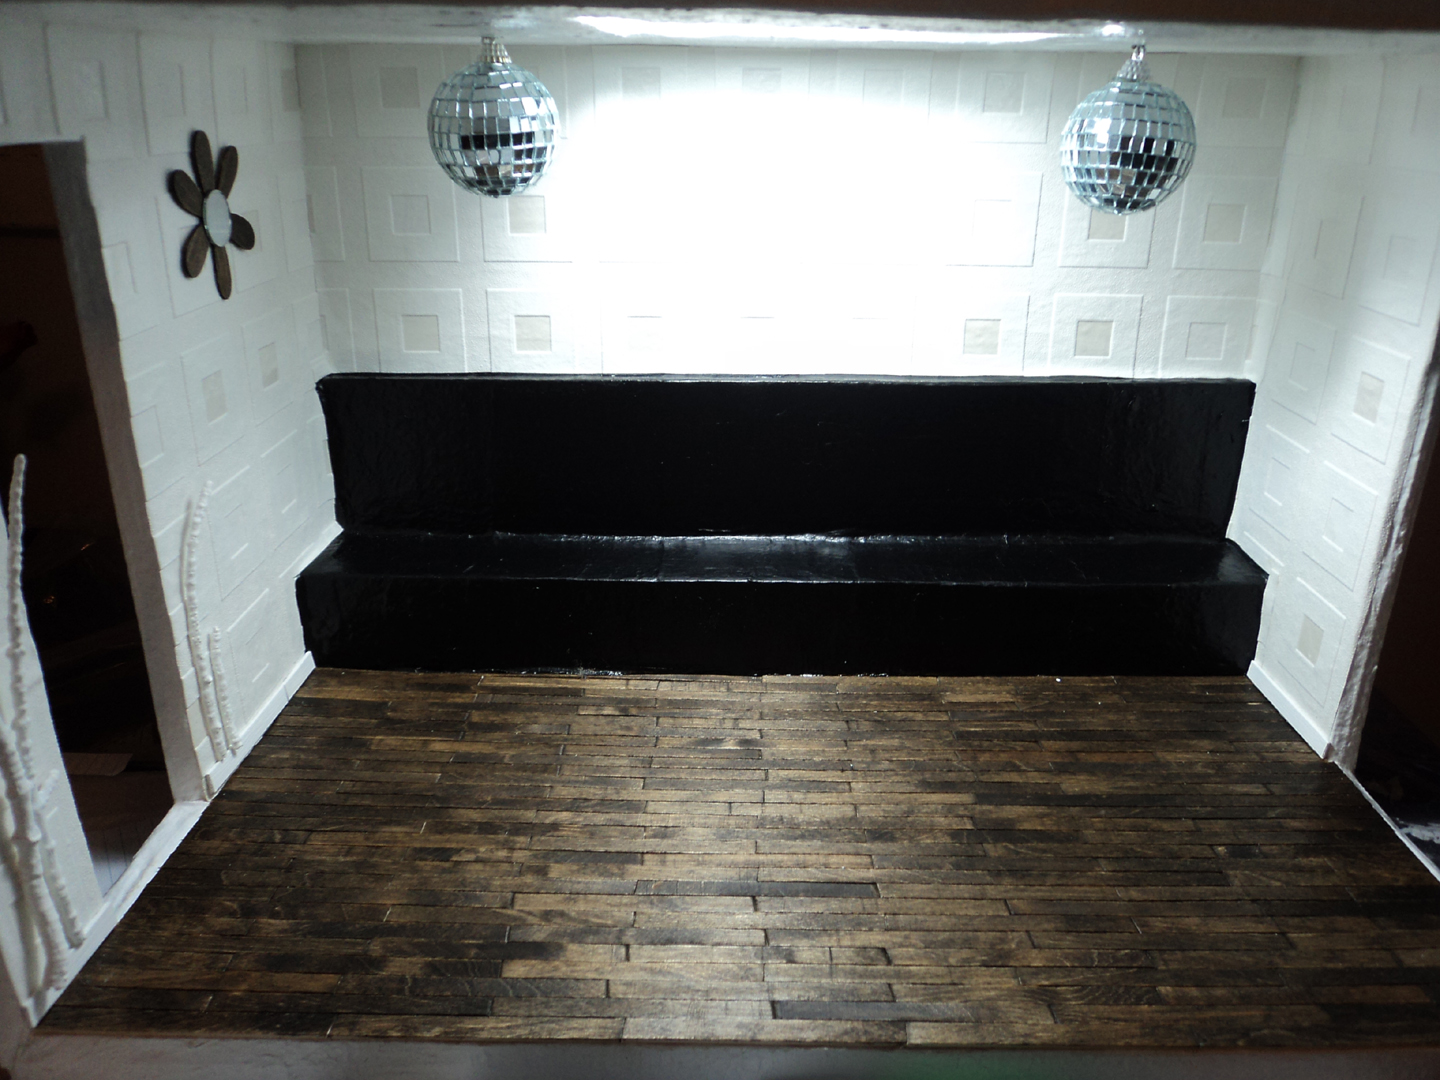
I have a vase full of twigs and they always come in handy. I painted them white and hung them on the side walls. The back wall is for art from my viewers. We are accepting art from all ages and our viewers will vote for their favourite. We will use your art to hang in restaurant and in the new dorm rooms.


 I love how they turned out.


 I wanted the lighting to be special. I found these two Christmas ornaments at Value Village, as soon as I saw them I knew they would be perfect. To secure the lighting (ornaments) I made a hole on the ceiling and ran the string through and glued a piece of wood over it.


I found these wood piece at a garage sale this past summer. I stained them and glued them to the wall then added the mirror over it.


The doorway on the left is the door to the kitchen that doesn't exist. I wanted somewhere for the serving staff to come out of, plus that is where they get the drinks and the bill etc... I wanted the space for tables and seating.


To cover the doorway to the fake kitchen, I used these silver ball garlands I got from dollar store.


I love how the doorway turned out. The silver curtain balances the lighting.

I will be posting about the bench in the next post.


The Door...


Oops...time to change the blade...


Start gluing your popsicle sticks to the cardboard. I used hot glue...watch you fingers, hot glue is crazy hot... try following the same pattern on each side of door.


I glued a piece of plastic to mimic a window.


I Just finished the sign and address number.


The next post will be the final one, the furniture and the finished look.
There will be a video on our YouTube channel plus a little stop motion clip at the end.

Thank you for visiting my blog, tell me what you think of the new restaurant.

:)


Friday, November 23, 2012

How to Make a Doll Restaurant - the Floors

The Flooring...
I love how the floor turned out, I didn't want to do the giraffe print for the restaurant, because that is the schools flooring, and I wanted it too look elegant so I did a hardwood flooring, well more like soft wood, I used popsicle sticks.


After laying the floor down, I stained it.


Now that the floors and walls are done...time to start decorating, my favourite part. I will post the pictures tomorrow of the decor features I added, and a final video on our YouTube channel probably Sunday...with a little stop motion clip (I will post the video here to so its easier to get to).

I have only done a few videos in stop motion and it was done with me holding the camera and trying to stay in the same position taking the pictures, well that didn't work out very well.  I love how stop motion looks and want to do more of it but it has to look better, I didn't know why it wasn't looking very smooth, one of our YouTube viewers told me all I need was a tripod... duh... another duh moment. So I started looking for one on Kijiji and found a few, I also asked my brother because I know he has some good cameras and woohoo he had a tripod to give to me, now you can't get a much better deal than 'free'.
Thanks bro... you're awesome!

So don't forget to subscribe and join our blog and YouTube channel so you won't miss any of our new stop motion videos, tutorials and our web series thats getting alot of great comments 'Skull Academy'.

Thank you so much for stopping by and viewing my crafts.
YOU ARE AWESOME!
I think I use the word 'awesome' way to much :) but it fits :)

:)


Thursday, June 21, 2012

Big Polly Pocket Dollhouse Makeover

I finally started working on the Polly house again. I was not happy with a few things, the bathroom, the closet doors, the fridge and mainly the floors. I stopped liking the shelf paper effect, it was fine for the smaller house, but I want to make this house stand out from the rest. I found some dollhouse pics with popsicle flooring stained and I love how it looks, so I am going to do the same. I never liked how the fridge turned out either so I'm making a separate fridge and glueing it once its done, and will only have cupboards on one side, and maybe a shelf beside the fridge.

Here are the 'before' pictures...


Don't forget to subscribe so you don't miss the big reveal.
Thank you to all our members, for your support and kind words.
Have a great day!